Part 21: Power One, Part II
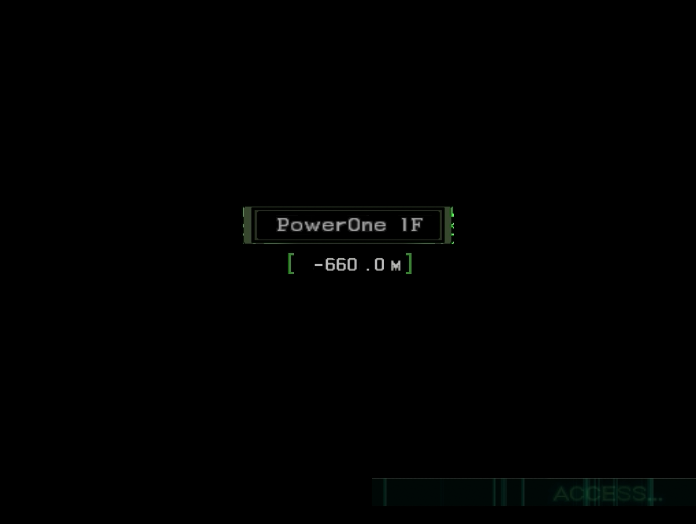
Update 21 - Power One, Part IIWelcome back. Last time we passed through TopSector and began our journey through Power One.
Music: Power One

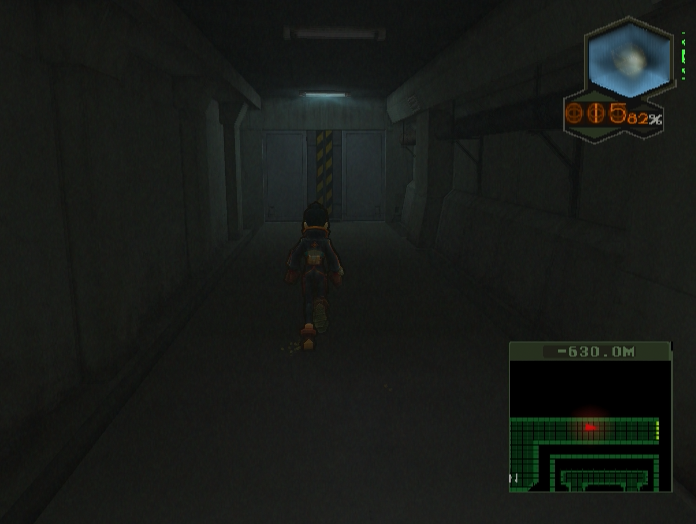

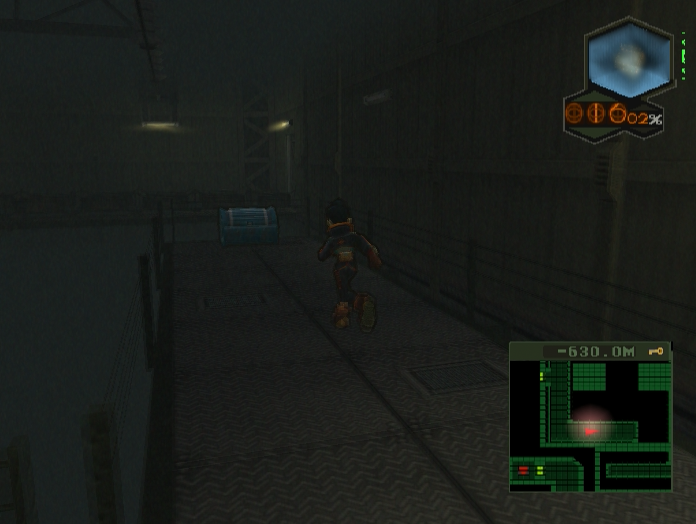
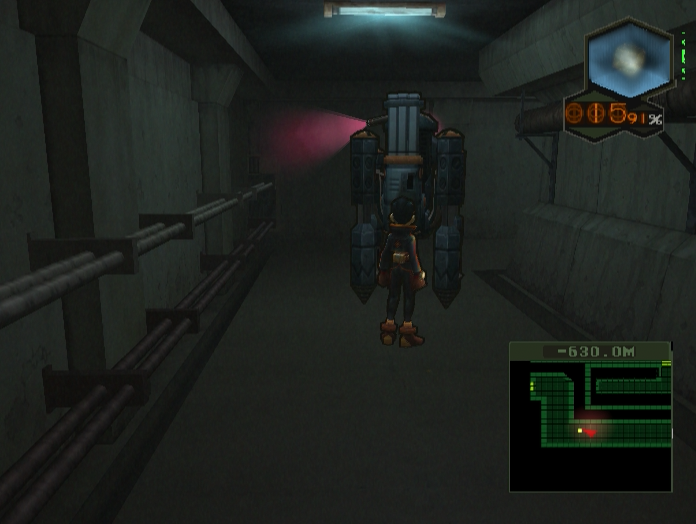
The fourth floor is thick with undead enemies. Karons and skeletons are everywhere, and if you aren’t careful you can wind up fighting multiple of the former at the same time.

Thankfully Death misses occasionally.

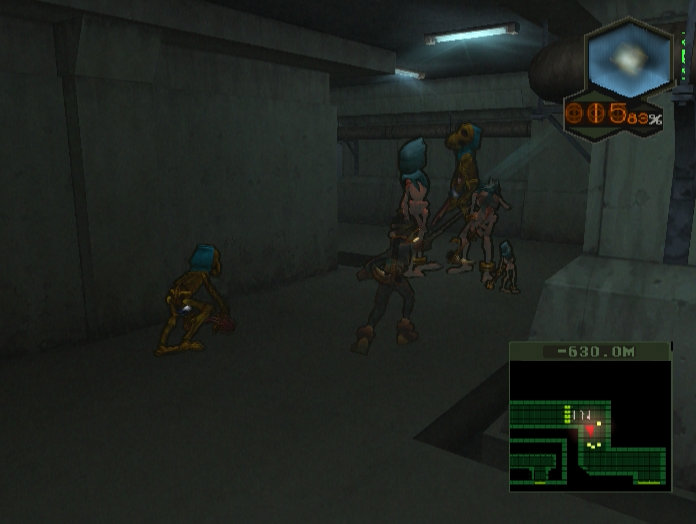
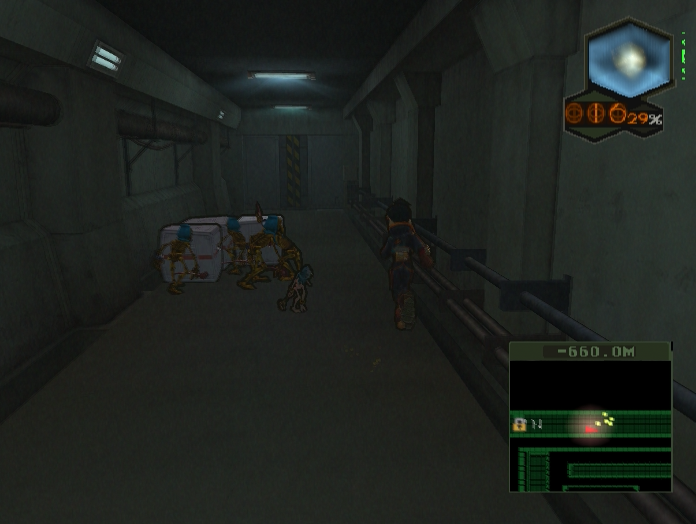
Around the next corner is a cluster of Primas, Hychee-type enemies that drop Med Kits. There’s also a Karon lying in wait for unwary players behind the white boxes.


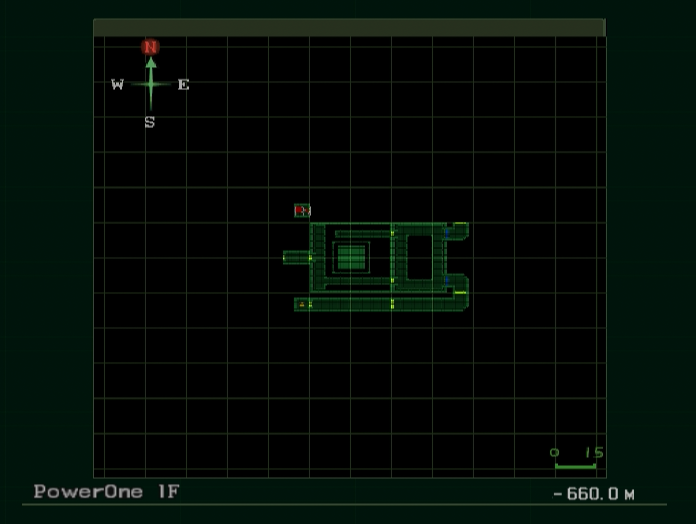
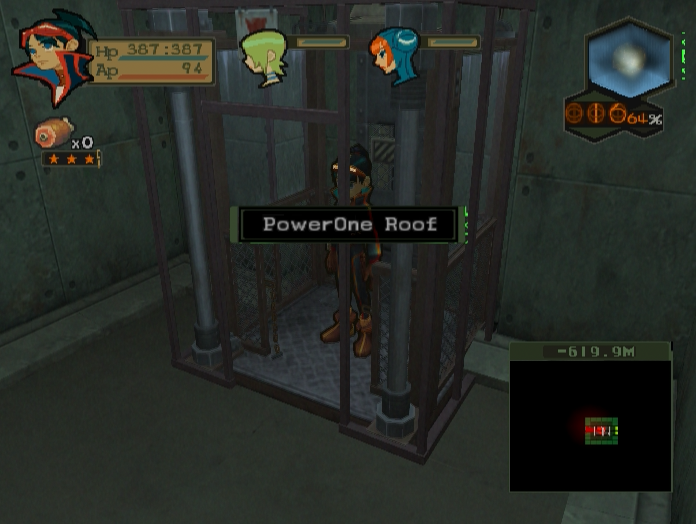
This room is where the two alternative paths through Power One converge.


There are three Crushedhearts flitting around on both the left and right sides of the gantry. Killing them yields the Treasure Key.

The Treasure Chest is on the other side of the room. It’s pretty much impossible to miss, which is great since it contains one of the best skills in the game.


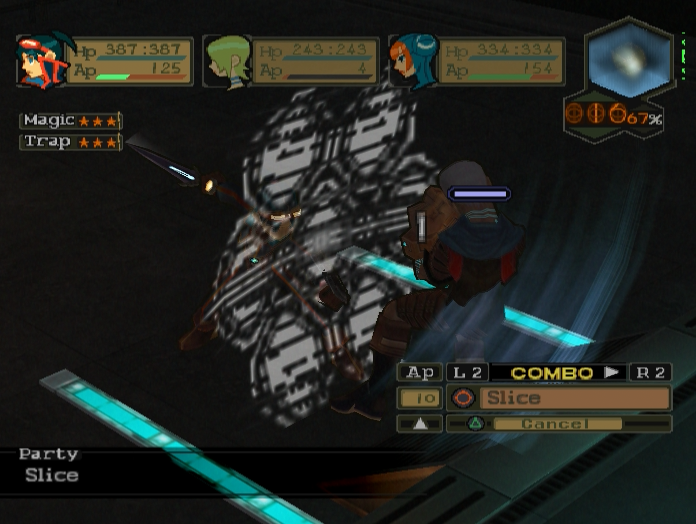
‘Shatter!’ is a special skill in that it deals more damage the closer Lin is to her target.

If you’re too far away it’ll do almost nothing. But if you’re right up in an enemy’s face…
Yeah. It’s an incredibly powerful skill, doubly so since it hits enemies in a spread. It’s almost too good, since now that we have it there’s almost no reason to use anything else. Use ‘C’mere’ to pull an enemy in, throw in a couple more attacks to build the combo gauge and then ‘Shatter!’ them into oblivion.
This door is the exit to Power One, but we still have to explore the alternate route. It’s not especially different from the one we took, so I’ll just show off some of the highlights.
A Proto-Karel guards the elevator down to the next floor. If we’d come up the other way it would have ambushed us right after we turned the corner. Since we’re actually heading back down from the top we’ll be doing the route in reverse, meaning a number of the enemies won’t be facing us and we can get some free hits in on them.


The second floor of Power One is infested with these little robots. They’re weaker than the larger Proto-Karels, but they’re everywhere and are nearly always backed up by RescueMechs. If you’re wondering why there’s a random hunk of meat on the screen, it’s because I was trying to throw a Prox Bomb and accidentally cycled too far.
Needless to say, the robot didn’t go for it.

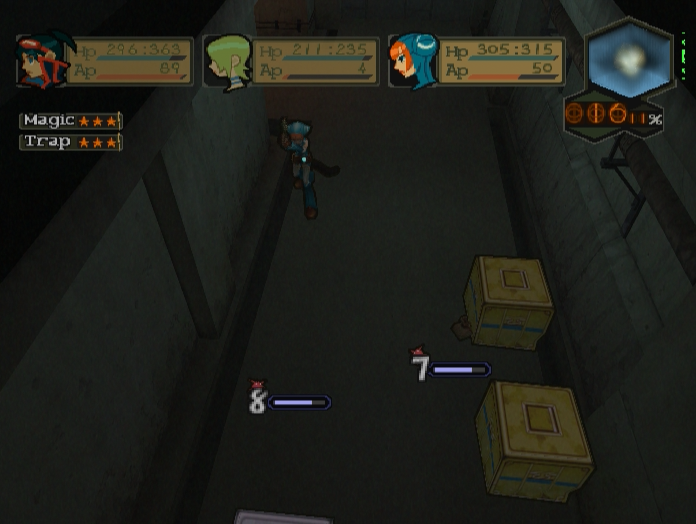
There’s a bit more loot to be found on this route. There are far more item crates, although there tend to be swarms of Crushedhearts hiding behind / between them.


Unfortunately the Treasure Chest is underwhelming by comparison. Divine is another useless debuff that’ll never see the light of day.

Taking the elevator down puts us back on the very first floor. We’ve almost completed a full circuit of Power One.
Music: Imminent Crisis
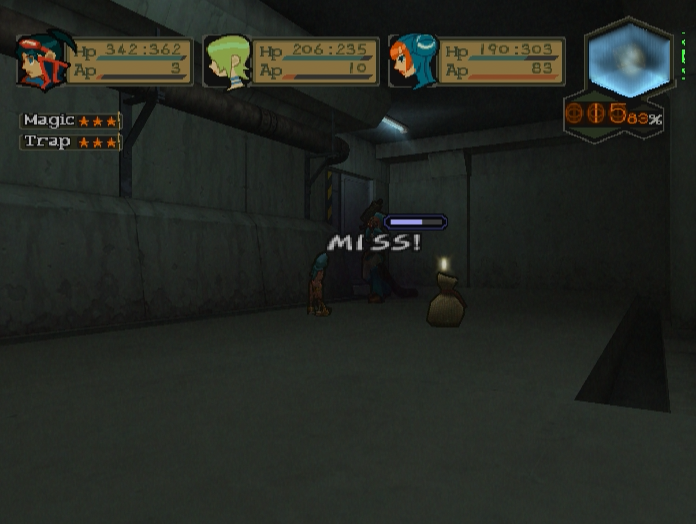
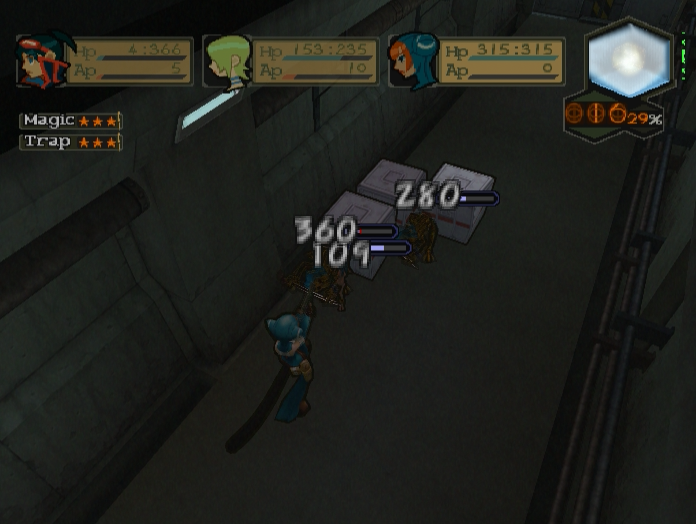
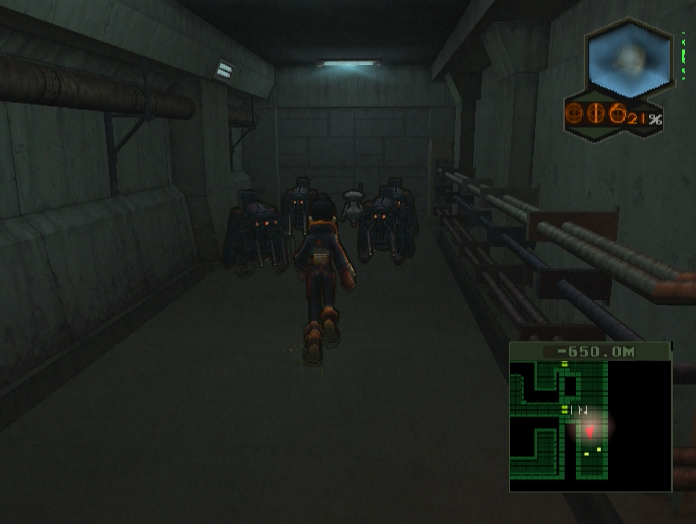
There’s another corridor Danger Room to get through first, however. This one is a bit more dangerous than the one with the Nugget family, with four Skeletons linked to one Karon.
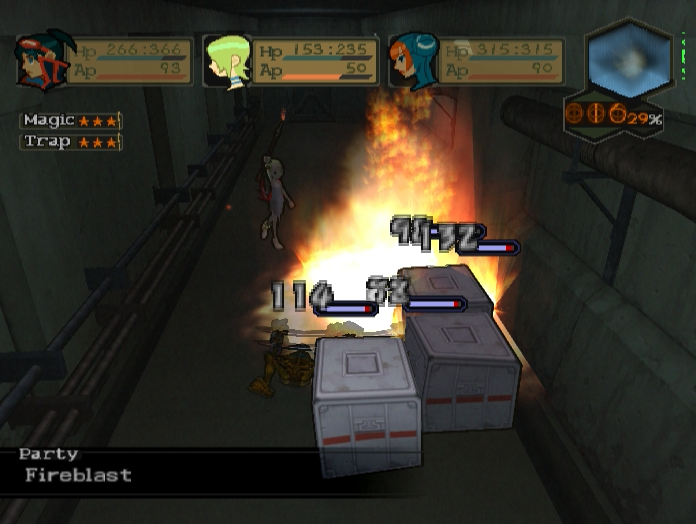
In this case you really want to get rid of the Skeletons before the Karon buffs them up. Buffed Skeletons can do over 100 damage, which is just plain nasty when there are four to deal with.


Pressing on brings us back to the room where we found the Backpack upgrade. TopSector is only a couple of screens away, and it’s really worth heading back there to sell off items, do some identification, shuffle skills and stock up on healing items.

I wound up doing a lot of that offscreen, but one item I found that is significant is this - the Sniper Scope. It’s one of Lin’s most powerful potential weapons, with a huge range, excellent damage and an accuracy boost so huge it ensures she’ll never miss ever again. The only thing that makes me hesitate to use it is its lack of skills - if I could just thread ‘C’mere’ it would be the perfect Shattergun.


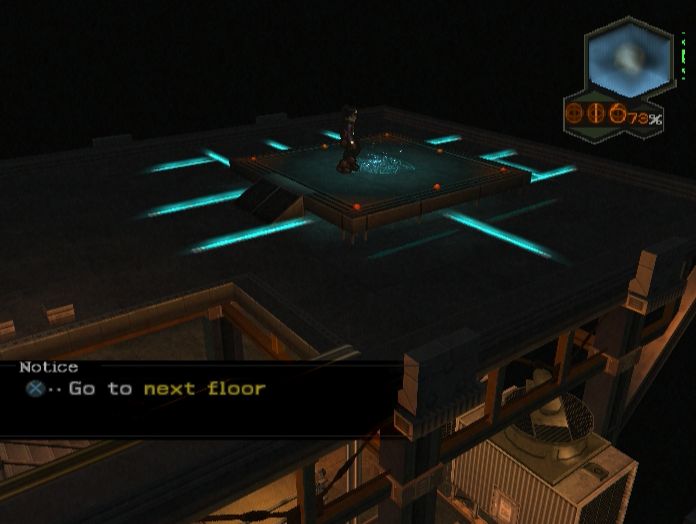
Now that we’re ready it’s time to head up to the roof.


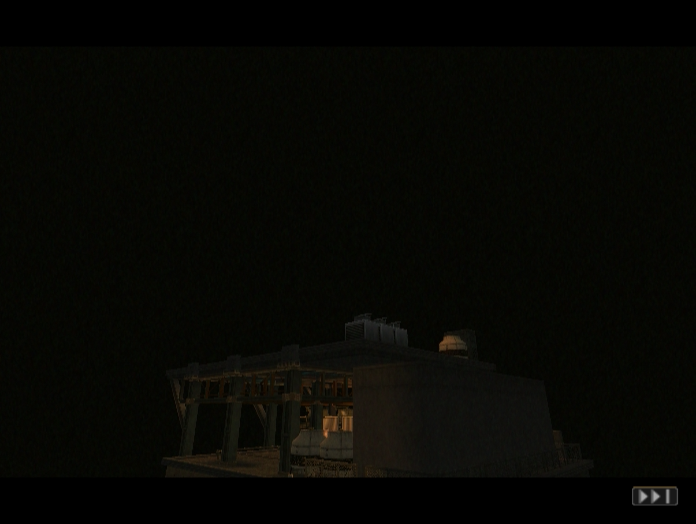
Power One’s roof is eerily silent. Even the music fades away into nothingness.
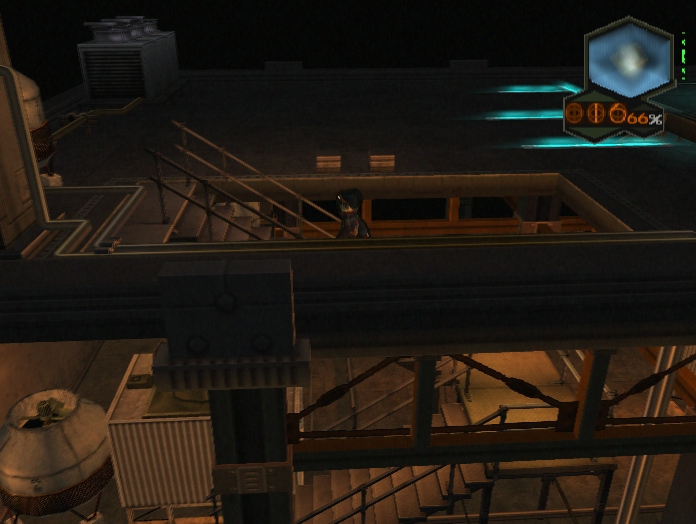
When we reach the top of the staircase a cutscene plays.


A subterranean wind gusts and moans as the camera pans over the rooftop.


 : Other than the fact that it’s where the Regents live, and that it controls the other sectors, Trinity has almost no information on the Centre.
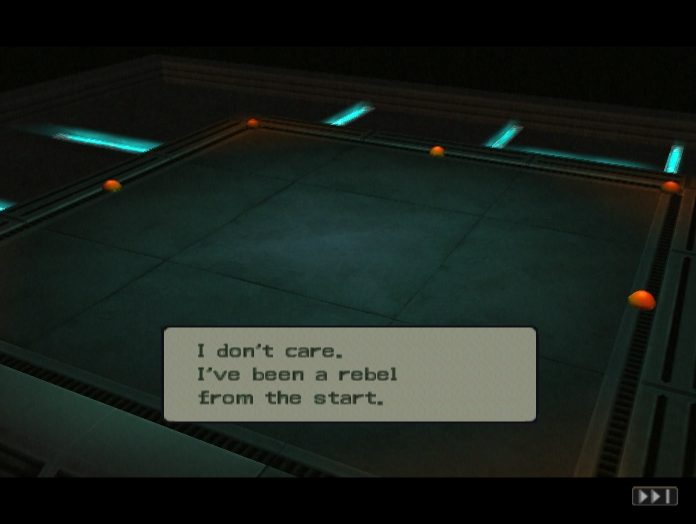
 : It’ll mean going up against them directly. They won’t take it sitting down, either.
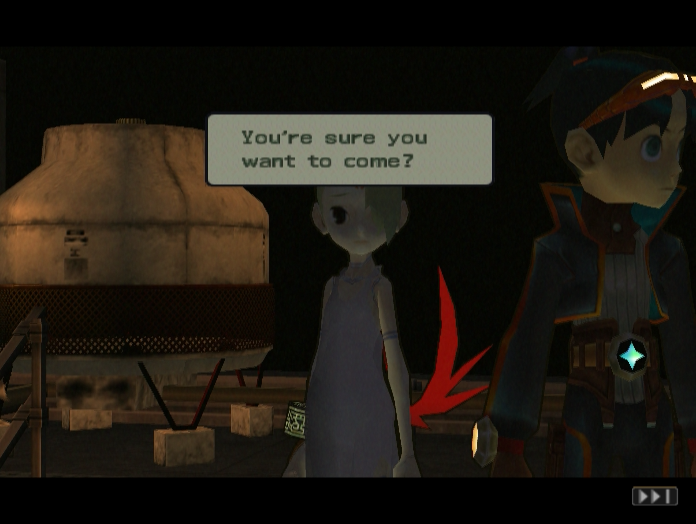
 : I just want to see how it all turns out.

 : Thanks, Lin. It means a lot.
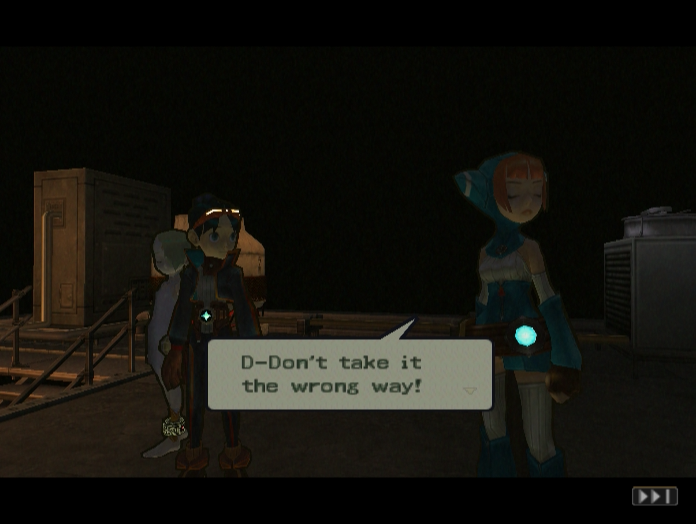 : I-I’m not doing it for you!
Oh, Lin. You really do care.


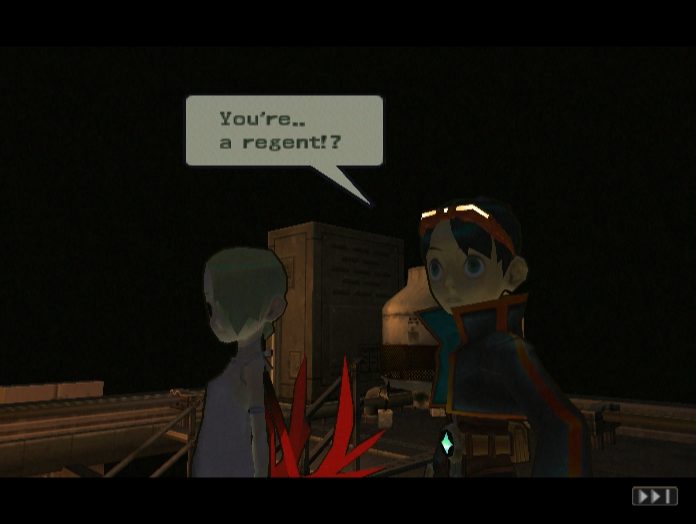
Before anyone can do anything else, Power One’s teleporter suddenly roars to life!
Music: A Moment’s Joy
 : What?!


 : That is why I have come.
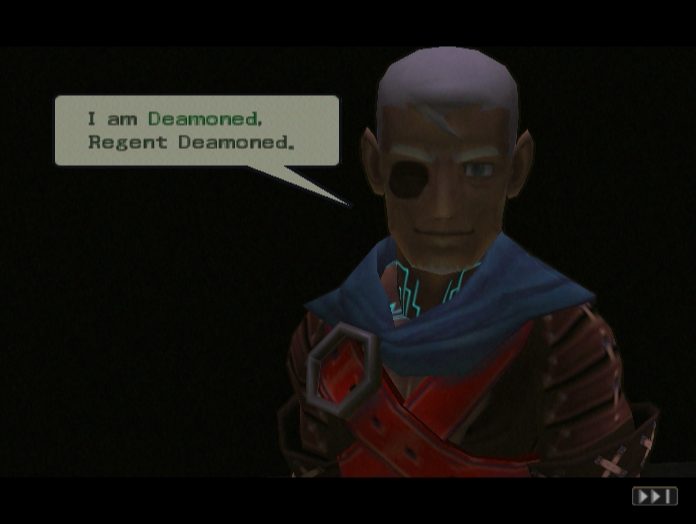

After struggling up through the bowels of Sheldar and foiling their plots at every turn, Ryu and company finally meet one of the Regents face to face.
 : And there is only one way for you to get them: You must fight, and defeat us!
 : Show me the full extent of your powers!
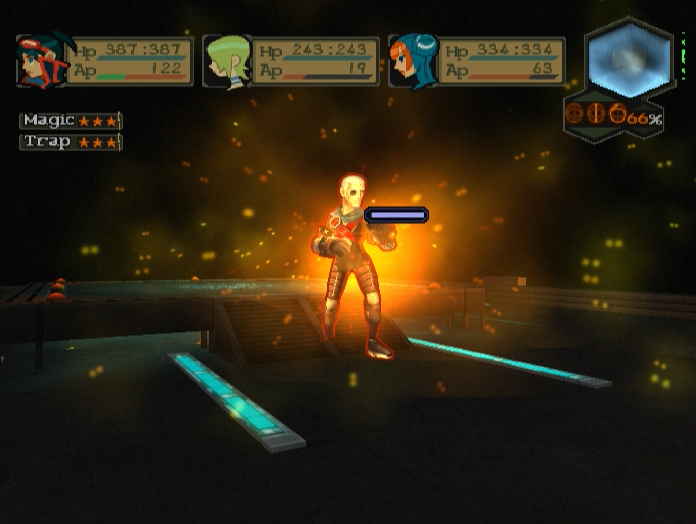
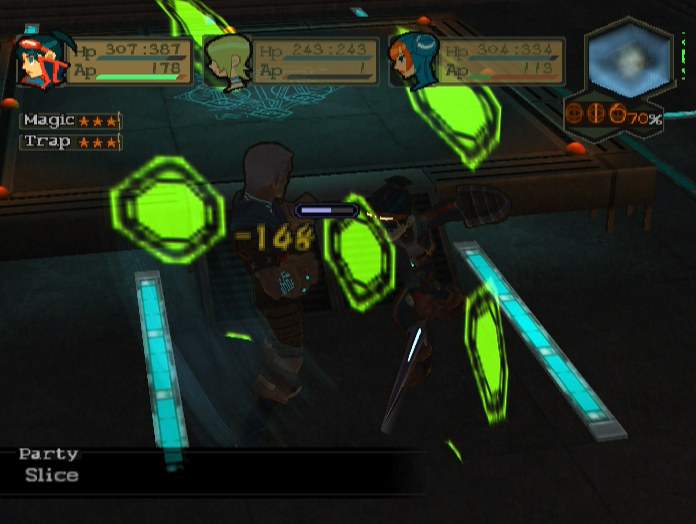
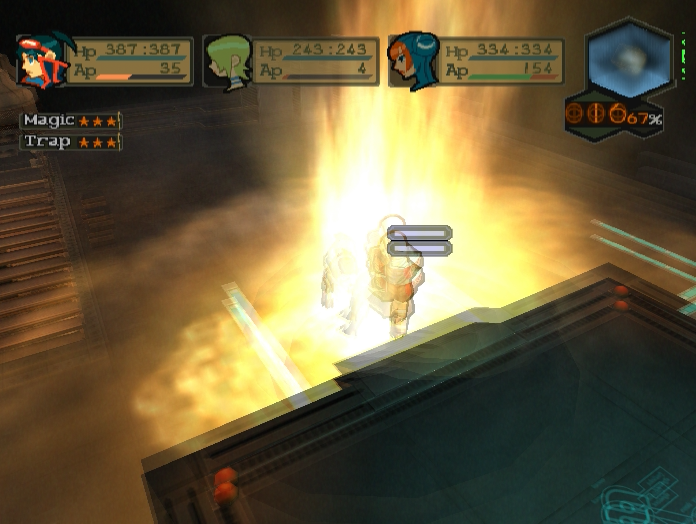
Without further ado, we are thrust into battle with Deamoned. It’s odd, though. From his words it sounds like he’s fought the dragon inhabiting Ryu before...
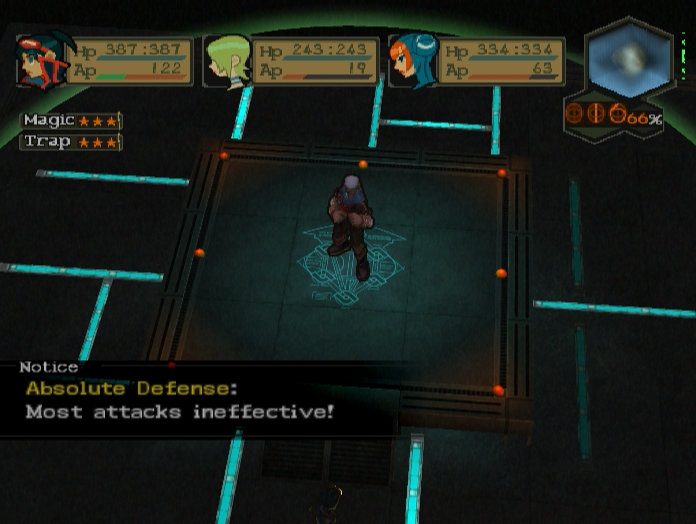
As both a Regent and one of the game’s final few bosses you’d expect Deamoned to have a few tricks up his sleeve, and indeed the battle with him is a bit more complicated than the other foes we’ve fought thus far. From this point on we’re going to have to deal with a mechanic called Absolute Defence.


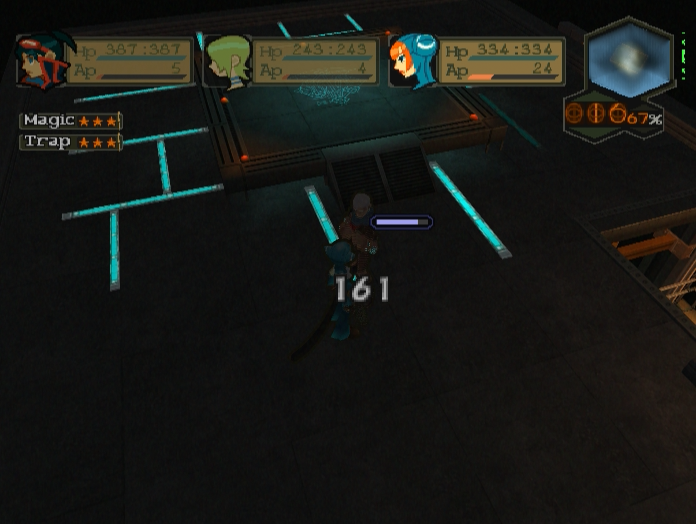
Absolute Defence looks like some kind of funky energy shield, but in practice it works like a pool of temporary hit points. Deamoned himself has an Absolute Defence rating of 200, meaning your character’s combos need to deal 200 points of damage before they start damaging his actual health bar.

That might not sound too rough, but this pool of temporary hit points regenerates between combos. So even if Ryu manages to break through and do some damage, when control passes to Lin you’re going to have to deplete those 200 hit points all over again. Combined with Deamoned’s 3,800 actual hit points this means the battle can drag on for quite a while.
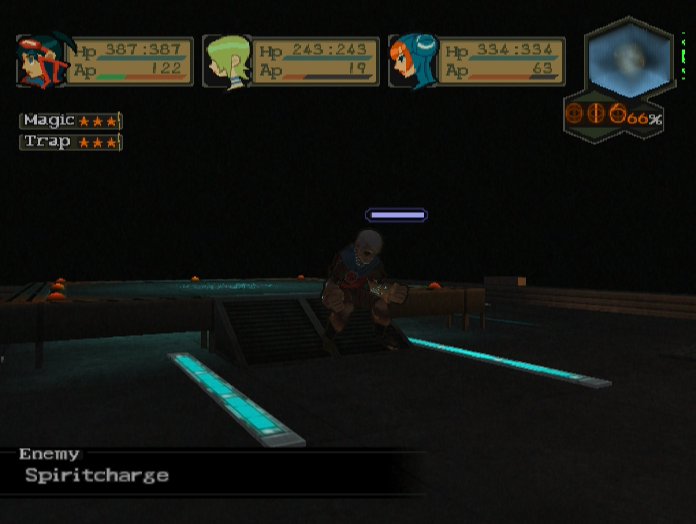
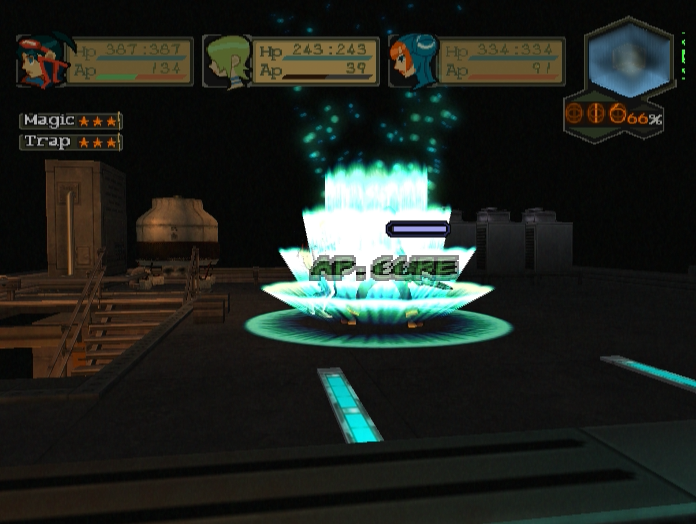
But that’s just the defensive aspect of the fight. Deamoned has some nasty tricks when it comes to offense too, all of which are doubly dangerous due to his tendency to buff himself up with Spiritcharge whenever he has a spare moment.


Stinger and Stungun are his least troublesome attacks - regular enemies have those, and they’re only really threatening when he’s buffed himself.

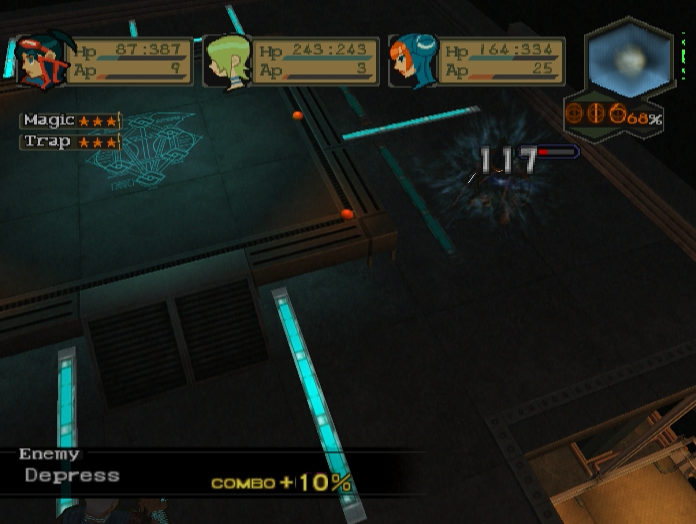
He also has a special version of Depress that involves punching a character halfway across the stage.

Multi-attack is dangerous simply because it lets him hit you twice in one move. If a character has less than half their health they’re probably going to die from this.


Howling inflicts Bind on all nearby characters. This is another attack that’s more of an annoyance since the player should have plenty of Multimeds by now.
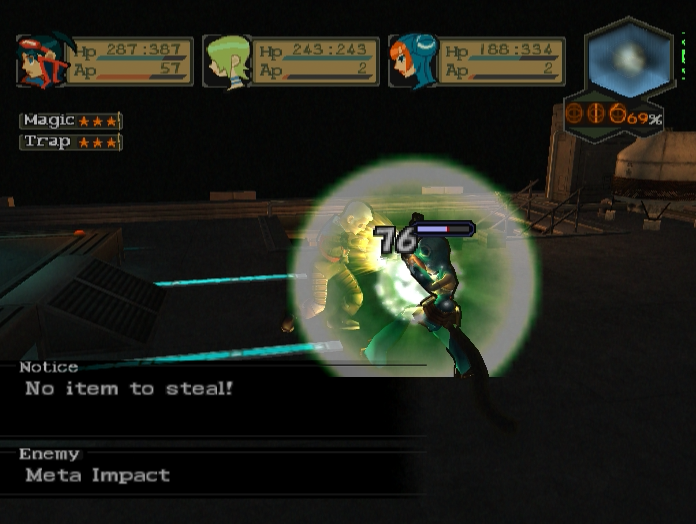

Aside from these basic attacks Deamoned has two unique skills to watch out for. The first, Meta Impact, is basically Multi-attack with knockback. This is a pain if it hits Ryu since it means he has to waste AP getting back into attack range.
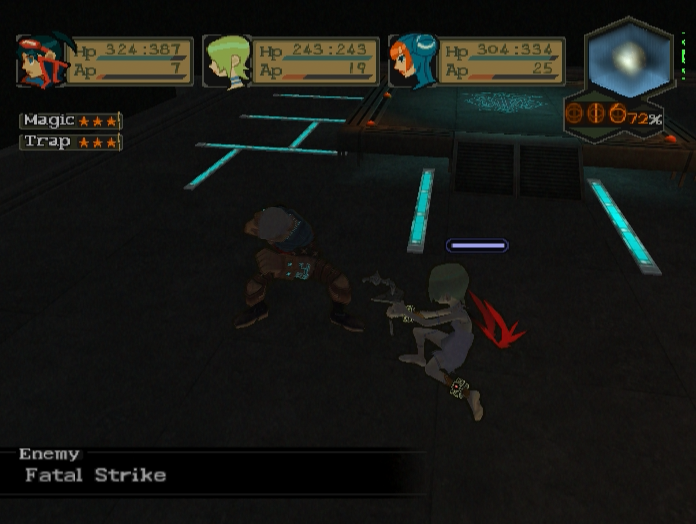


The second is Fatal Strike, which is a classic ‘drop character’s HP to 1’ move.


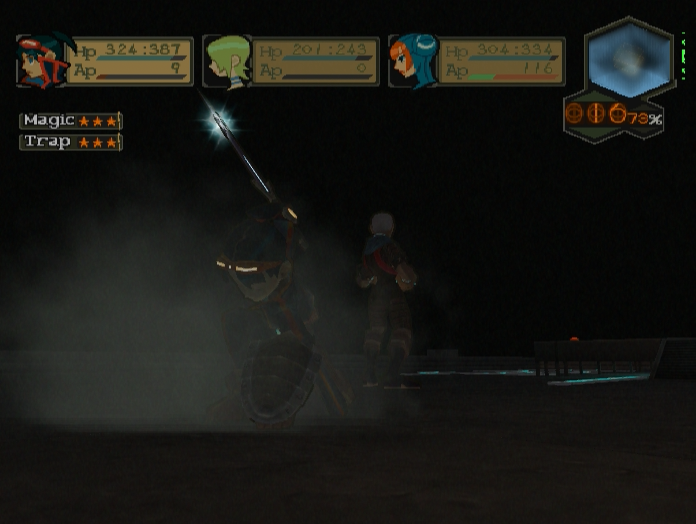
With strong offense and defence and a truckload of HP, Deamoned is a challenging fight - just as you might expect from someone who claims to have fought Odjn and lived to tell the tale. But with a bit of strategy, he can be overcome.
Firstly, Deamoned’s raw offensive power is mitigated by the fact that he only gets to act twice per turn. Fatal Strike and Meta Impact are powerful skills but can’t be spammed over and over like Rebuilt Bosch’s Dragonslayer could.
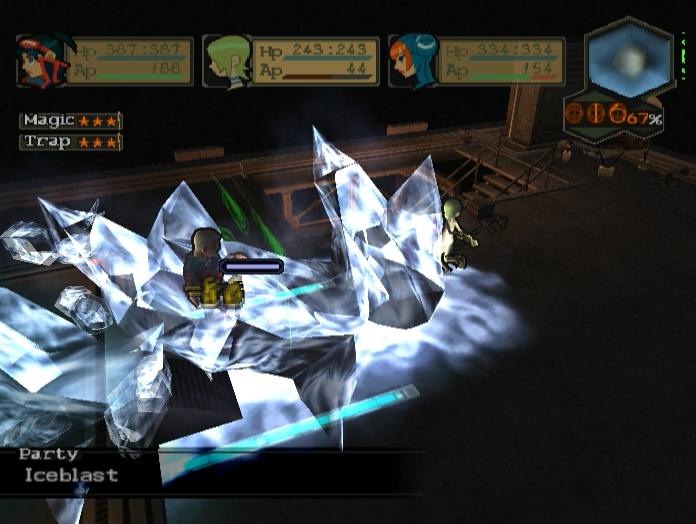
Secondly, Nina’s elemental spells are more or less useless in this fight. Deamoned doesn’t have any elemental weaknesses and a full barrage of second-tier spells will only take off about 30 or so damage once his Absolute Defence goes down. Ditto her traps; Deamoned’s Absolute Defence renders him totally immune to their damage and stunning effects, and he won’t even lose AP by running into them.

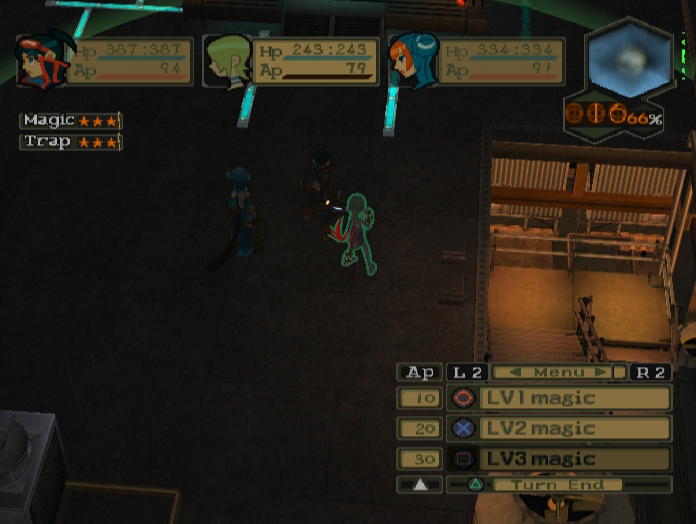
The best way to use Nina is to have her equip the Transfer skill and give her AP to Ryu or Lin. They’ll be our main damage-dealers in most Regent battles.

Beating the Absolute Defence requires a long combo. The most efficient way for Ryu to do this is to overcharge his AP bar by waiting a turn / getting AP from Nina / using an AP Charge, chaining Slices together until the shield breaks, then comboing up to Lv. 3 Skills.

After that spamming Violet Death is the way to go.


Lin should also charge up her AP, then combo up to ‘Shatter!’ as soon as possible.


If you have it, you can also use Discharge to turn Deamoned’s high damage output against him.

Deamoned is tough, but he’s also straightforward, with no real gimmicks beyond his Absolute Defence.


Keep the pressure up and you’ll eventually whittle him down to nothing.

Beating him grants us a massive - and oddly specific - 16,002 experience.


If you're really struggling to defeat Deamoned, D-Dive is your friend.


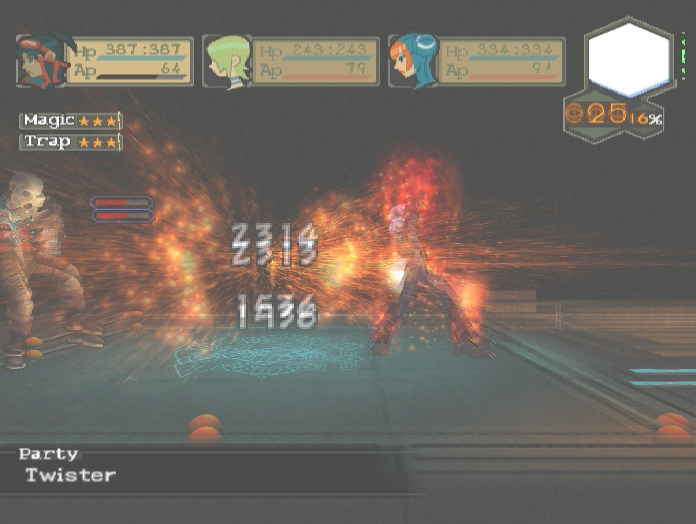
Three D-Charges and one Twister will tear right through his Absolute Defence and lay him out immediately. And no, Deamoned can’t damage Dragon Ryu. I checked.

However you choose to fight, beating Deamoned results in the game throwing us back onto Power One’s roof. It feels a bit…unceremonious? You’d at least have thought we’d get a cutscene showing Deamoned’s final moments.


Either way, he was kind enough to drop his key. Two down, two more to go.

Before we use the teleporter, there’s a skill called Anger that you can steal from Deamoned. It’s an incredibly useful Shield Skill that gives you a free Spiritcharge whenever an enemy attacks you. Sadly there are still things we need to steal, so we won’t be equipping it just yet.


The teleporter buzzes to life, transporting Ryu and the party up to the Regents’ abode. What trials await them in Centre? Find out next time.
--
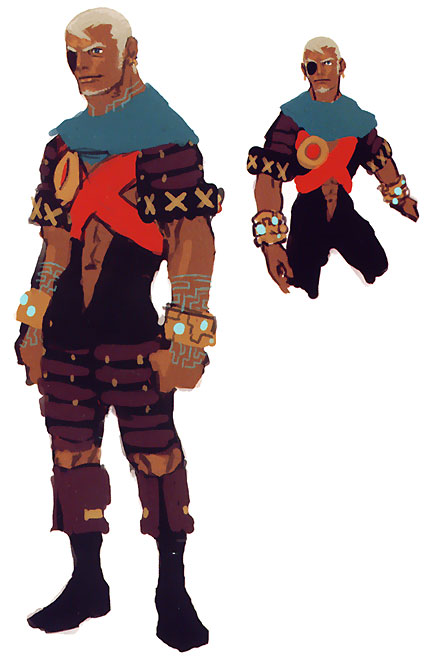
Bonus Art: Deamoned